You can import a list of Leads or Prospect Accounts (depending on your permissions). When you import accounts into Monarch, the following fields will be included in the Account’s Profile: Account Name, Address 1, Address 2, City, State, Zip, Phone, Fax, Website.
Notes:
- The import file must be in a .csv format and must also have column headers. Please use the attachment at the bottom of the page for a .csv template that is already formatted with the correct columns, if you do not want to create your own.
- The Account Name and Salesperson are required, and must be present in the file being imported.
- In the Salesperson field, you need to have the name formatted as it appears in Monarch. Usually it is LastName, FirstName.
- If duplicate Account names exist within your import data file, only the first instance of the Account name will be imported into Matrix.
- For phone numbers, Matrix will not read “letters” in the field. Please enter only numbers.
To import Accounts into Monarch:
1. Select Accounts in the Navigation Panel, then click the Import Accounts button. The Import Accounts dialog box displays.

Note: Depending on your permissions, you may be asked which type of Account that you wish to import, Leads or Prospects. Read the description about each on screen in order to determine which is right for you and then click Next. If you do not see this screen, proceed to the next step.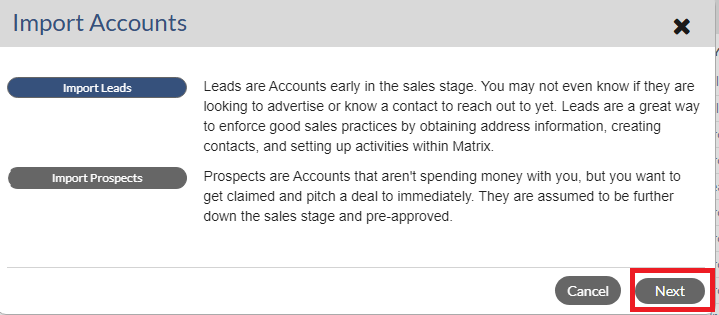
2. Click the Choose File button at the top of the dialog. Locate and select the .csv file on your computer.

3. Choose one of the following options, as appropriate:
- Update Existing - Uses the import data to update existing account records only if a field is blank in Monarch. Existing information will not be overwritten. If a matching account cannot be found, a new account will be created.
- Overwrite Existing - Uses the import data to update every field in matching accounts, regardless of whether a field previously had information in it. Use this option with caution.
- Create New - Creates new accounts from the import data and ignores any changes to accounts already existing in Monarch.
4. Click the Next button.
The Account field names (as they appear in Monarch) display on the left, and the imported field names (from the data file’s column headers) display in drop lists on the right. Monarch will attempt to match the field names appropriately, but it is your responsibility to ensure that the fields accurately match. If necessary, use the drop lists on the right to match the fields appropriately.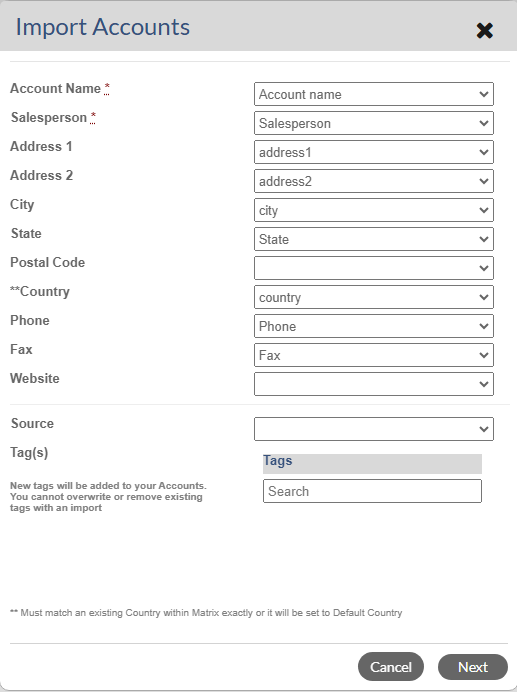
5. If you wish to add a Tag to all of the accounts that will be imported, click in the Tag field and type the Tag. Either select an existing Tag from the list (if one appears), or create a new tag by pressing Enter (on your keyboard).
6. The same applies to the Source field. Click the drop down and select a Source to be applied to all Accounts.
7. Click the Next button in order to pick which Outlet(s) you wish to apply to each account being imported.
- Like Source and Tags, the same selected Outlet(s) will be applied to all Accounts within the import file
8. Click Next and the dialog will go away.
9. You will see a green message appear in the upper right of your screen letting you know that the accounts are being processed.
Keyword Search: Account list, import accounts, account data, address data, tags, import data into Monarch, address, phone, emails, update accounts, create new accounts